
The HoundDog.ai Cloud Platform is the central management layer for the CLI scanner: scan results upload to it, and your organization uses it to triage dataflows, customize scan rules, and generate privacy reports — see the Overview for the full tour.
Follow these steps to get your organization up and running:
1. Sign In
Section titled “1. Sign In”Sign in at app.hounddog.ai. As part of onboarding, your organization chooses its authentication method — Google SSO, Microsoft Entra ID, or SAML through your identity provider (Okta and others). SSO and SAML connections are configured with the help of the HoundDog.ai team during onboarding rather than in the app itself.
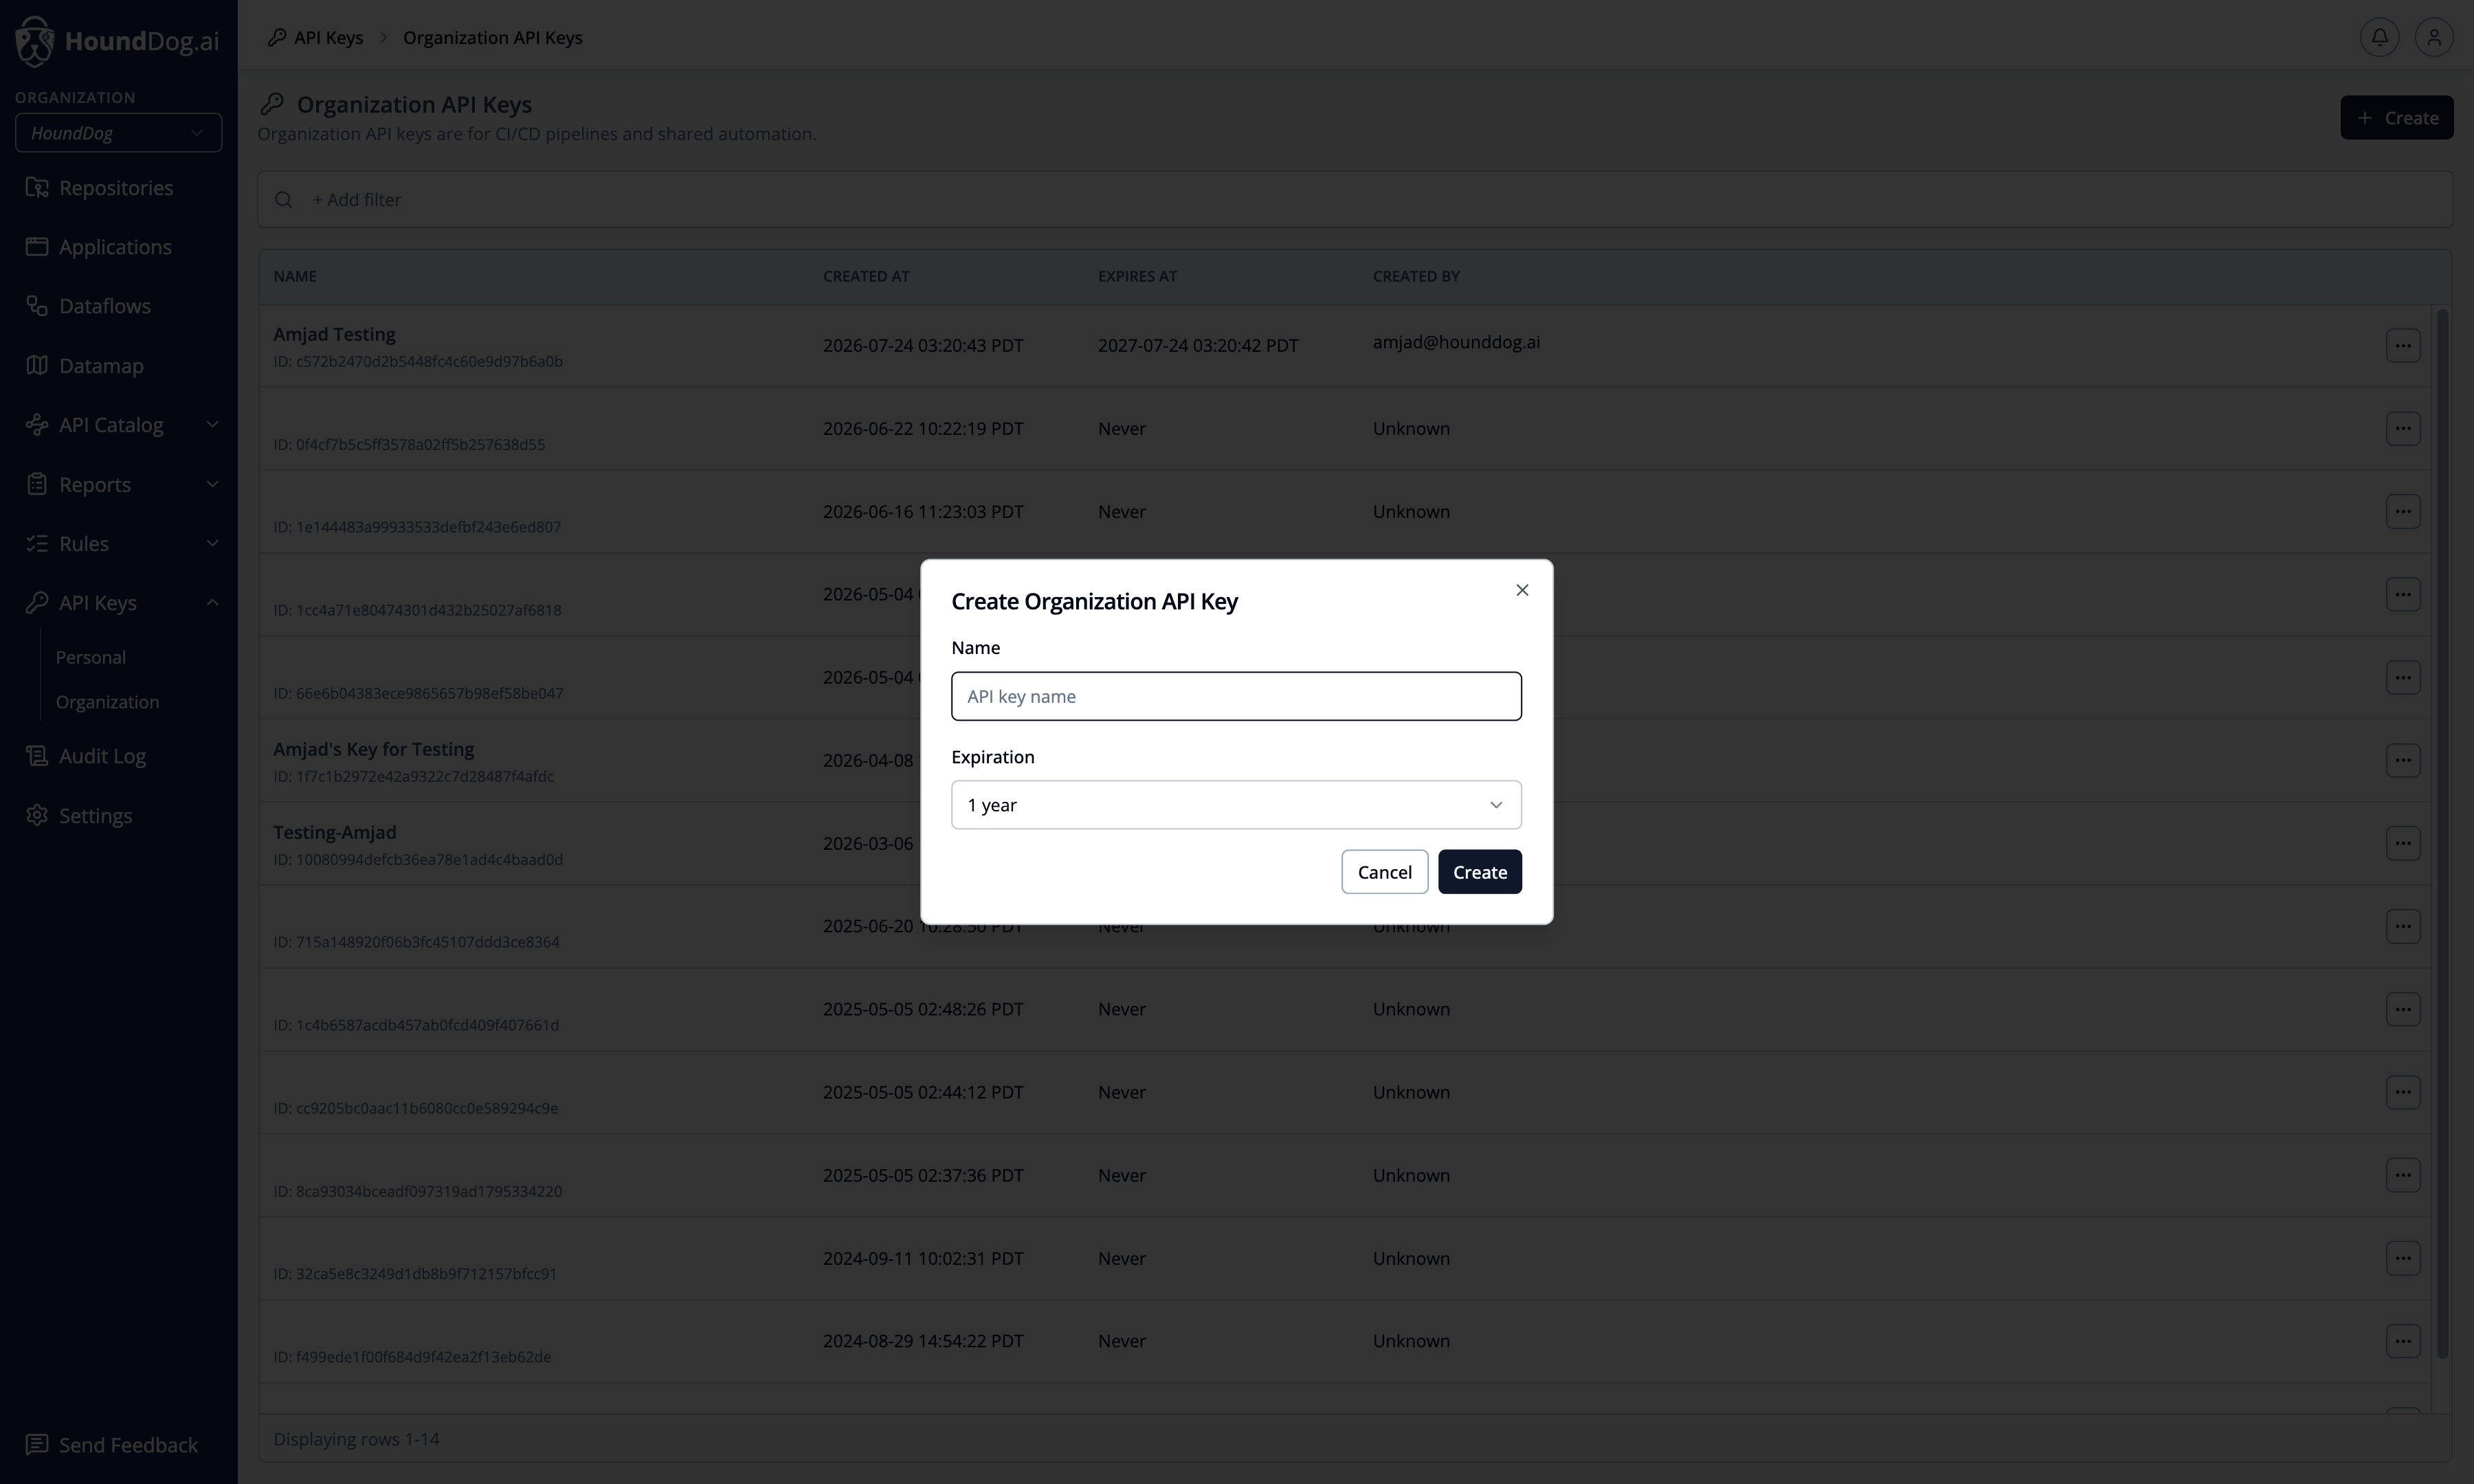
2. Create an API Key
Section titled “2. Create an API Key”Navigate to API Keys and create a key for the scanner:
- Personal API key — for everyday use, such as development on your personal device.
- Organization API key — for CI/CD pipelines and shared automation.
The key value is displayed once at creation time. See API Keys for details.
3. Run the Scanner
Section titled “3. Run the Scanner”Install the scanner (see CLI Scanner) and run an authenticated scan:
export HOUNDDOG_API_KEY=<your API key>hounddog scan /path/to/repositoryYou can run the scanner at any stage of development:
- Locally on a cloned repository — ideal for proof-of-concepts and one-off scans. See Quickstart.
- Automatically in CI via a source control integration — the platform generates and pushes CI configurations for your repositories in bulk.
- Manually in CI by adding the scanner to your pipeline definition yourself. See CI/CD Pipelines.
4. Review the Results
Section titled “4. Review the Results”After the first authenticated scan completes:
- The repository appears under Repositories.
- Detected dataflows appear under Dataflows, sorted by severity and ready for triage.
- The Datamap shows how data elements flow into data sinks across your codebases.