This page explains how you can integrate HoundDog.ai's code scanner with GitLab CI/CD pipelines.
Defining the Required CI/CD Variables
First, follow the steps in API Keys to generate a HoundDog.ai API key. Then follow the steps in the GitLab documentation to create a masked CI/CD variable named HOUNDDOG_API_KEY with the value of your key.
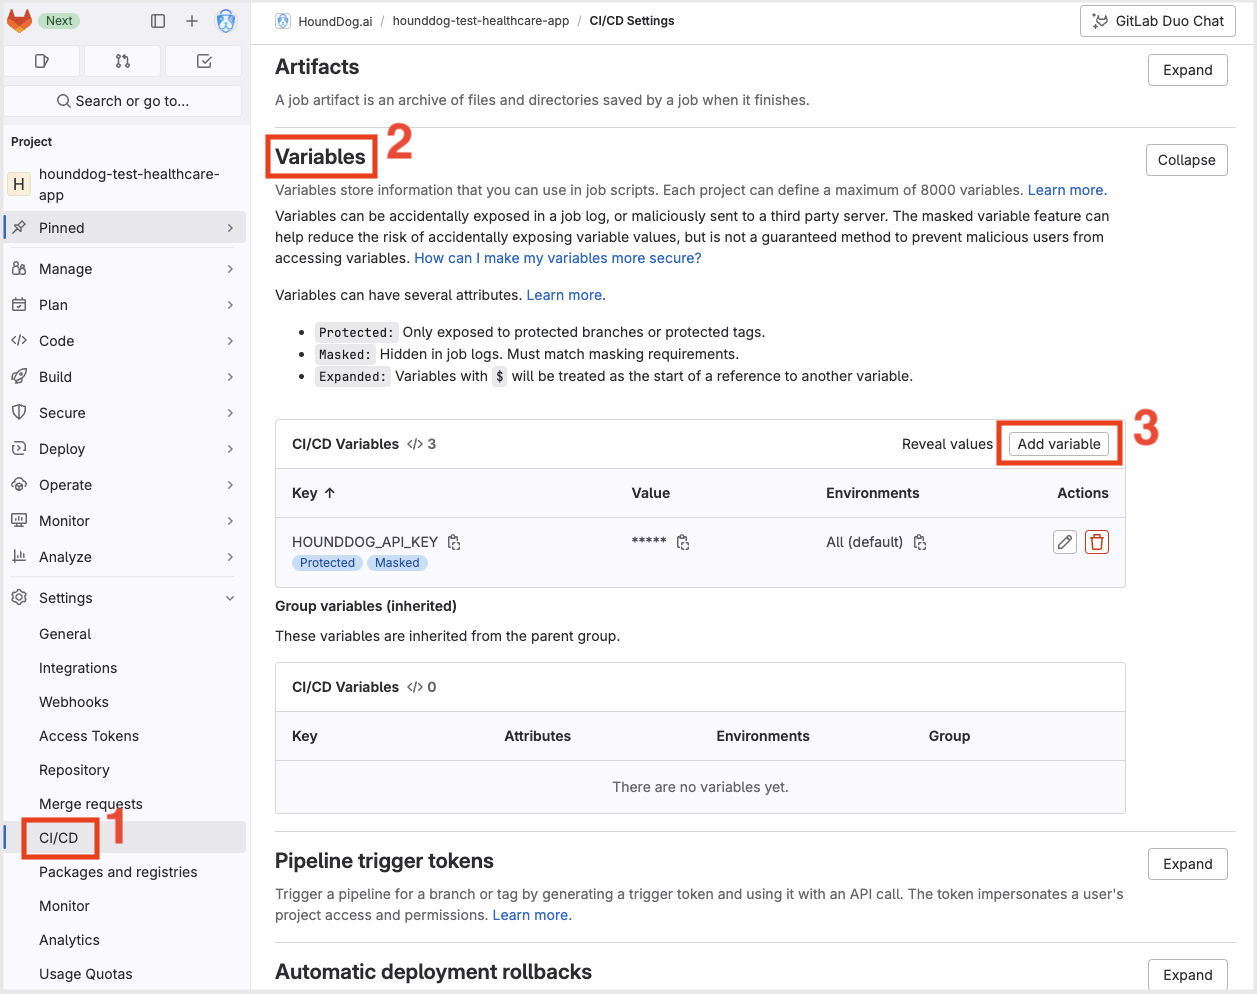
GitLab allows you to define CI/CD variables at multiple levels (e.g., instance, group, project). Here is an example screenshot showing how to create a project-level CI/CD variable:
Defining the Scan Job in .gitlab-ci.yml
Next, add a new job in the .gitlab-ci.yml file in your project. Here is an example which scans your repository and uploads the results to HoundDog.ai Cloud Platform:
xxxxxxxxxxhounddog allow_failuretrue image namehounddogai/hounddog pull_policyalways scripthounddog scanNote that we did not explicitly reference the HOUNDDOG_API_KEY variable in the YAML configuration above. GitLab automatically injects them into the build environment for us.
Here is another example for GitLab Ultimate users who prefer to manage their vulnerabilities in GitLab's vulnerability report instead of HoundDog.ai Cloud Platform:
xxxxxxxxxxhounddog allow_failuretrue image namehounddogai/hounddog pull_policyalways scripthounddog scan --output-format=gitlab --no-upload-scan-results > hounddog.json artifacts reports # Upload to GitLab's vulnerabilities report dashboard. sasthounddog.jsonBlocking the Pipeline Upon Detecting Vulnerabilities
In the examples above, we have been using allow_failure: true to ignore any errors from the scanner. To fail the pipeline upon detecting vulnerabilities, change allow_failure to false and provide the --fail-severity-threshold option to the hounddog scan command:
xxxxxxxxxxhounddog # You can alternatively delete this line as it defaults to false already. allow_failurefalse image namehounddogai/hounddog pull_policyalways script # Fail if a vulnerability with severity "medium" or higher is detected.hounddog scan --fail-severity-threshold=mediumTo view all available command-line options for the hounddog scan command, see Scanner Configuration.