This page explains how you can integrate HoundDog.ai's code scanner with Atlassian's Bitbucket Pipelines.
Defining the Required Pipeline Variables
First, follow the steps in API Keys to generate a HoundDog.ai API key. Then follow the steps in Atlassian's documentation to create a pipeline variable named HOUNDDOG_API_KEY using the value of your key.
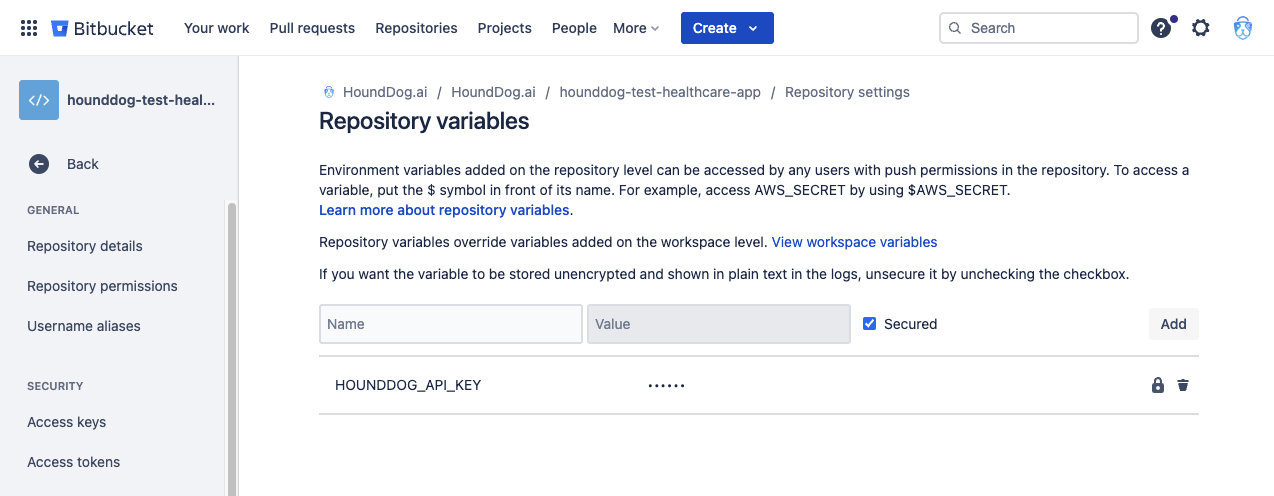
Bitbucket allows you to define variables at multiple levels (workspace, repository, deployment). Which level to use is up to you. Here is an example screenshot showing a HOUNDDOG_API_KEY repository variable:
Defining the Scan Step in bitbucket-pipelines.yml
Next, add a new step in the bitbucket-pipelines.yml file at the root of your repository. Here is an example which scans your repository and uploads the results to HoundDog.ai Cloud Platform:
Blocking the Pipeline Upon Detecting Vulnerabilities
HoundDog.ai's code scanner exits with return code 0 (success) by default. To halt the pipeline upon detecting vulnerabilities, provide the --fail-severity-threshold option to the hounddog scan command:
To view all available command-line options for the hounddog scan command, see Scanner Configuration.